
Are you looking to add a new page to your WordPress site? However, does the default WordPress site editor feel bland for you or do you wish that it has more features?
While the base WordPress site editor is decent, many website designers have opted to use Elementor to assist them in making their website more visually appealing as it’s a great tool to help create and design pages on WordPress.
Source: Build Your First Page With Elementor Page Builder for WordPress by Elementor
In this tutorial, we’ll learn how to create a new page for your WordPress website using Elementor’s intuitive page builder.
Whether you’re new to website design or looking to enhance your skills, Elementor provides a user-friendly platform to bring your ideas to life.
Step 1: Adding A New Page
To start off, log in to your WordPress to select the website where you want a new page created, then go to the dashboard.
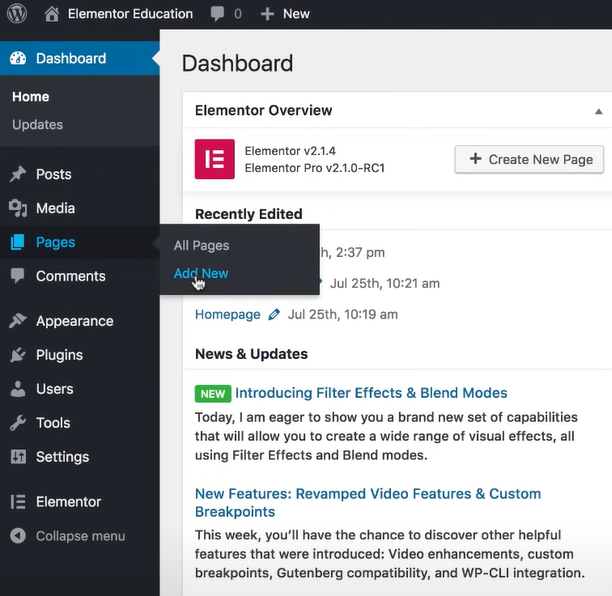
At the dashboard, on the left, go to “Pages” then click on “Add New.”
Whether you’re using the old or new WordPress editor, look for the “Edit with Elementor” button and click it to launch Elementor’s interface.
Step 2: Choosing A Full-Width Layout
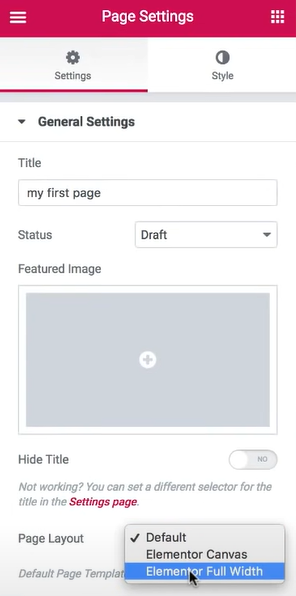
To have a better overview of the page as you design it, it is best to edit it on a full-width page.
At the bottom left of the editing panel, click the “Settings” icon (gear-shaped) then select “Full Width” under the “Page Layout” option. Now, you’re ready to begin crafting your page.
Step 3: Understanding The Elementor Interface
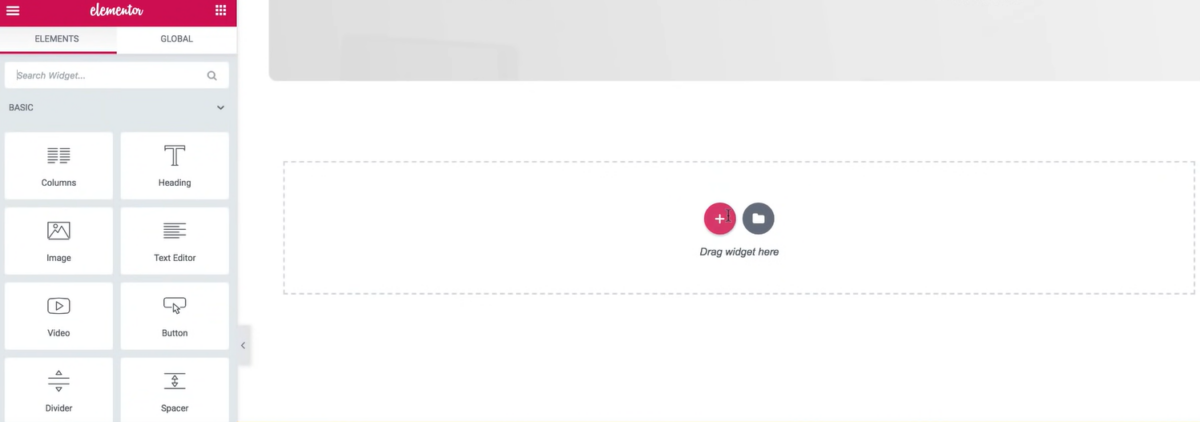
There are 2 main components of the Elementor editor, the editing screen and the Elementor panel.
The editing screen of your website is the area on the right of your screen. This is where you will be designing, arranging, and previewing the page elements.
On the left side is the Elementor panel, which is where you’ll find Elementor’s creative tools called widgets.
Widgets make it a lot easier for you to add elements like headings, paragraphs, images, and videos to your page as you can simply drag and drop them into the editing screen before fine-tuning the more detailed customisations.
Step 4: Pre-Designed Templates Or Starting From Scratch?
From here, you should decide if you would like to use a pre-designed template or start from scratch.
While using a pre-designed template will certainly be easier, if you have a specific design in mind, starting from scratch may be the right option for you.
If you do choose to use a pre-designed template, you can choose either individual block templates or whole page templates.
Block templates are meant for each section of your page, so if you’d like to use multiple design styles, block templates may be the choice for you.
On the other hand, page templates will fix the design of your page as a whole, so use this if you’d like consistency throughout your whole page.
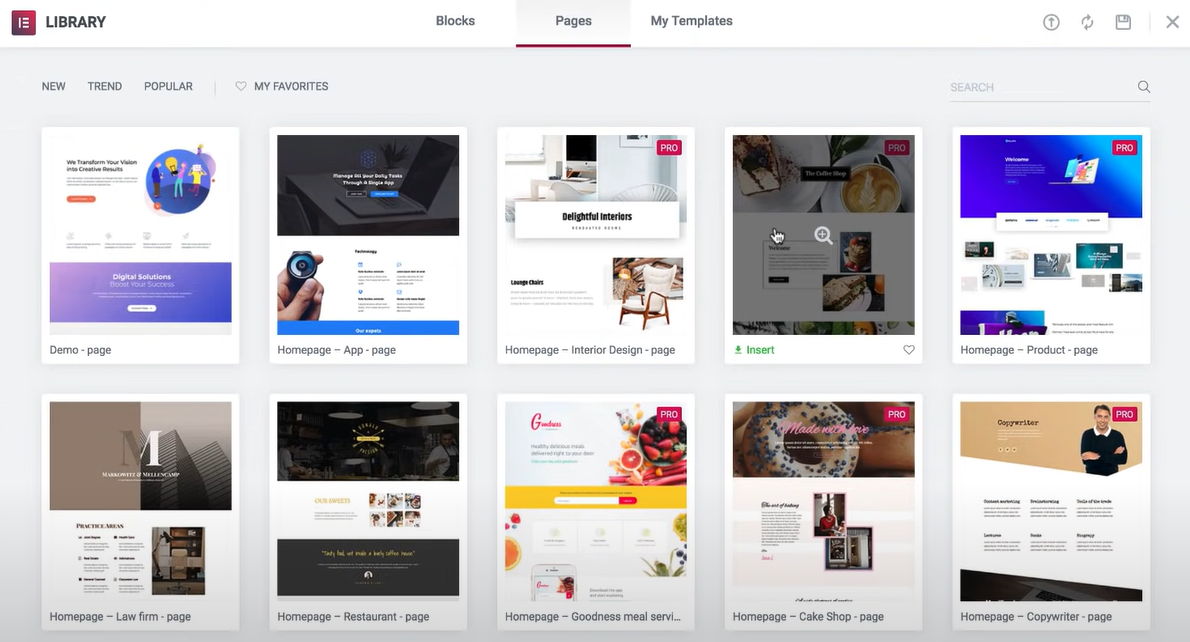
To add a template, click on the library icon, next to the ‘+’ icon, then choose one of the available ones or if you have your own, upload the templates and add them to your page.
If you’re interested in looking out for more template options, you can find more templates from Envato Elements here.
Step 5: Understanding Page Anatomy
Each Elementor page consists of sections, which contain columns that house widgets. Sections are identifiable by blue borders, columns by black dotted lines, and widgets within columns. This modular structure allows for easy editing and rearrangement.
Step 6: Customising Sections and Widgets
On a page, we can see somewhat of a hierarchy of the blocks, starting from the page itself > Section > Columns > Widgets.

All of these blocks, however, have similar functionalities, where every block has these handles that you will interact with to add a new block, edit, or delete an existing block.
You can change the location of all the sections, columns, and widgets by dragging and dropping them.
Right-click options enable duplication, deletion, and copying, streamlining the design process. If you need to adjust the size of the columns, you can adjust column widths by dragging their edges, offering flexibility in layout design.
Step 7: Designing Your First Section
For those who intend to create a page from scratch instead of using a pre-designed template, you’ll need to create multiple sections on your page.
To create your first section, click the ‘+’ sign and select the desired layout. Drag widgets like headings, text editors, buttons, and images into columns.
From here, you can customise both columns and widget settings in the panel to align, style, and format content according to your preferences.
It is recommended that you consider all possible devices that visitors can use to view the page, where the page should especially have a mobile-responsive design.
This means that the paddings, margins, and size of each section or widget should be able to be viewed in a visually pleasing manner regardless of the size of the device the page is viewed on.
While these are just basic customisations, it is always good for you to explore more on your own with the amount of resources and features that Elementor provides.
For example, there are many third-party plugins that Elementor supports and each of these plugins may provide significant features to help make your page more visually appealing.
However, as time goes on and more plugins are developed or refined, you’ll have to learn them on your own if you want to make the most out of designing pages with Elementor.
Step 8: Previewing and Publishing
Once you’re done with editing and customising each element on your page, it’s always good to preview the page where you’ll be able to see your new page in the eyes of a visitor.
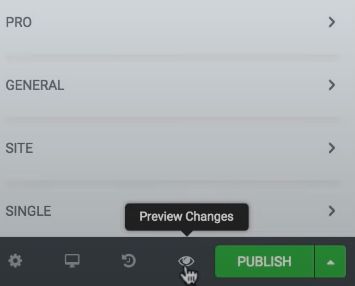
To preview your design, click on the “Preview Changes” icon.
If you’d like to preview how your page would look on other devices, click on the “Responsive Mode” icon to see how it looks on mobile and tablets.
Once you are satisfied with your design, click the green “Publish” button to make your page live. Use the eye icon to preview drafts before publishing.
If you’d like to look at the history of your changes to this page, you can click on the icon to the left of the “Preview Changes” icon. Here, you’ll be able to revert back to previous edits should you decide that you’ve made some mistakes in your design.
Additionally, Elementor also periodically saves versions of your design and under “Revisions”, you can revert to any of these versions at any time.
That is all the basics of creating pages on WordPress with Elementor. If you’d like to see more guides on WordPress and Elementor, stick around for more!
Related To: