
WooCommerce, a WordPress plugin, is a great tool to use if you intend to integrate e-commerce into your WordPress website.
With WooCommerce, you will have access to robust inventory management tools that can help you streamline your product creation and updates.
Today, we’ll learn all about creating and updating simple products in WooCommerce and adding variations to your products using the WCBoost – Variation Swatches plugin.
Creating a Product in WooCommerce
Source: Creating Products – WooCommerce Guided Tour – YouTube
If you prefer to follow a tutorial in video format
To begin creating a product in WooCommerce, you will first need to log in to your WordPress site, and then access the Dashboard.
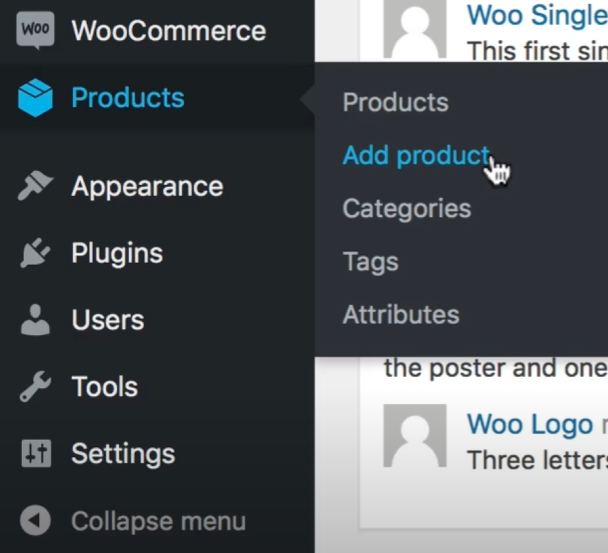
After clicking “Add Product”, you will be asked to fill in the various information about your product.
General Product Information
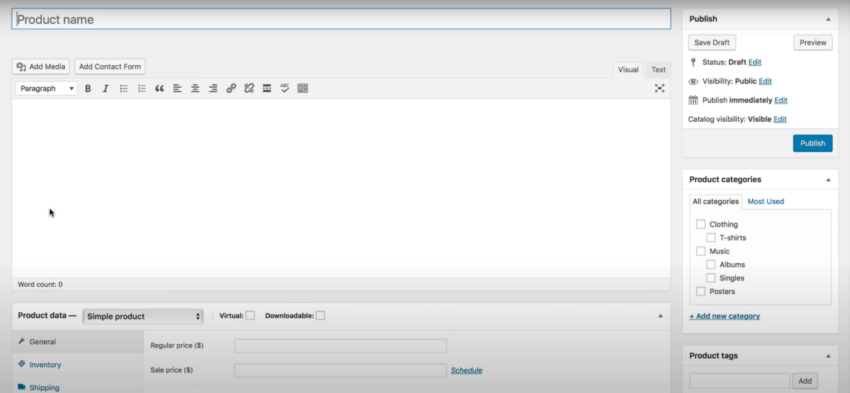
First, enter a descriptive name for your product.
After that, describe your product using the content field below the text field of the product name. This is what will appear under the description on your live product page.
Next to “Product data”, there will be a drop-down box to select which type of product you’d like to add however this time, we will keep it at “Simple Product”.
There are then, 2 prices that you’ll have to fill in: the regular price and the sale price. Fill them accordingly where your regular price will be the base price whereas the sale price is the price that will be set when you decide to apply a sale to this product.
Below the price, fill in the tax status and tax class appropriately.
Inventory

If you have a system to track the Stock Keeping Unit (SKU) of each product, go ahead and fill this one according to said system, otherwise try to establish a system and stick to it to ease the product management process.
If you tick on the “Enable stock management at product level”, you’ll be able to manually update the stock for each product.
Finally, tick the box next to “Sold individually” if you want buyers to only be able to buy 1 of this product per order.
Shipping
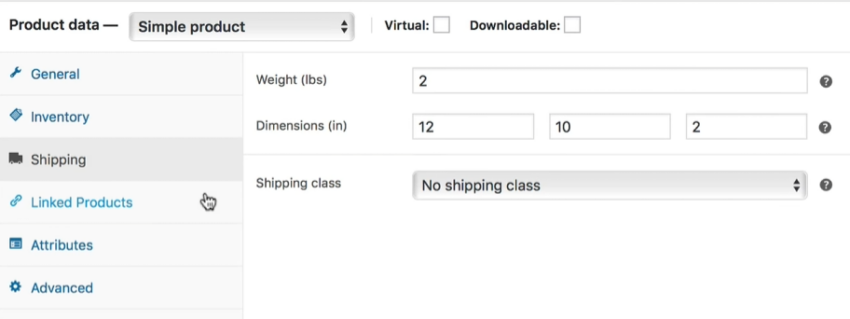
If your product is a virtual product, tick the box next to “Virtual”. This will remove the “Shipping” details since virtual products do not require shipping.
Otherwise, enter the product’s weight and dimensions for accurate shipping calculations.
If you have implemented shipping classes, change the shipping class to the one you desire, otherwise, you can leave it as it is.
Linked Products
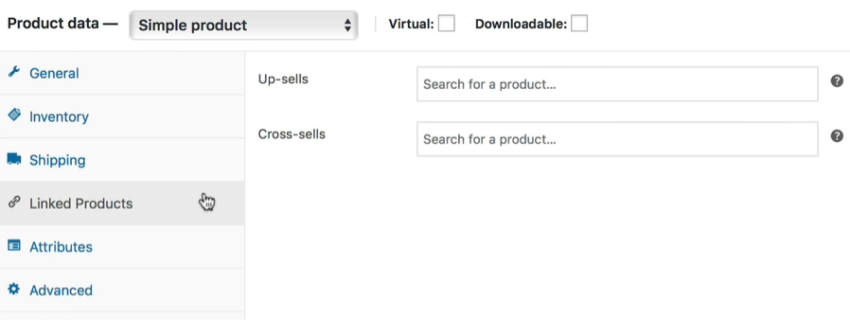
Should you have a product that is more profitable and would like to, in a sense, advertise on the page of other products, you can make use of the “Up-sells” feature. This will show these advertised products beneath the current product’s details in the live store
To sell related products to customers, use “Cross-sells” instead. Depending on your selected theme, the items you have listed under “Cross-sells” will be tried to be marketed to users who try to purchase the current product.
This can be done on the pop-up screen upon checkout for example.
Product Attributes and Advanced Settings
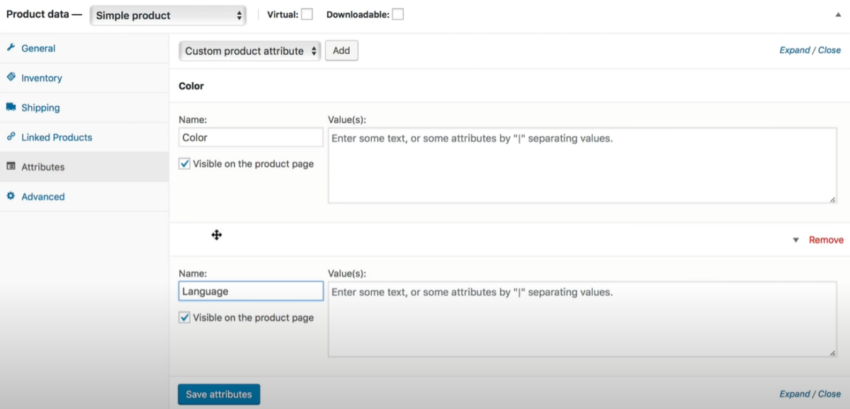
While these are usually more relevant for “Variation Products”, you can still add attributes to simple products.
Attributes such as colour and language can help your users filter through the products in your store to come across the products that they are looking for faster.
Advanced Settings
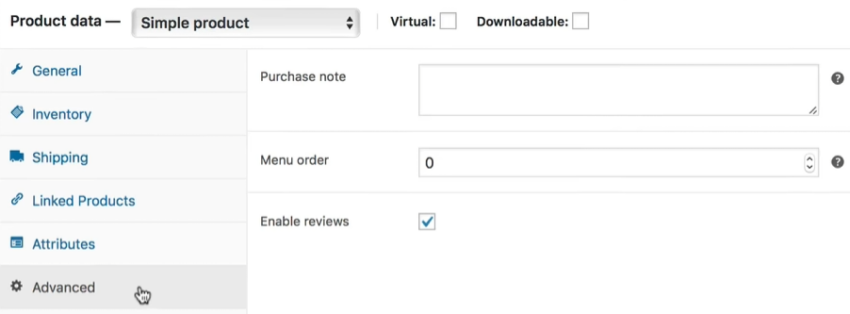
In “Purchase Note”, you can type a message that you want to send to your buyers after they have completed a purchase of this product.
You can also then, enable or disable customer reviews by ticking and unticking the box for “Enable reviews” respectively.
Product Categories and Tags
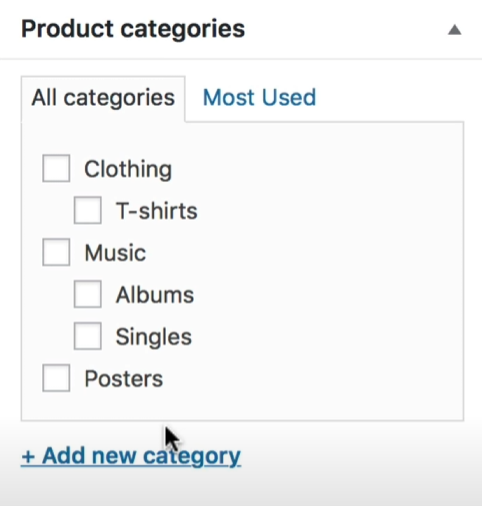
To the right of your screen, you can see additional information fields you can add for your products.
Under product categories, you can select or create a product category if the category you intend for the product to be in is not there yet.
Under product tags, you can add relevant tags to help customers find your product.
Product Images and Gallery
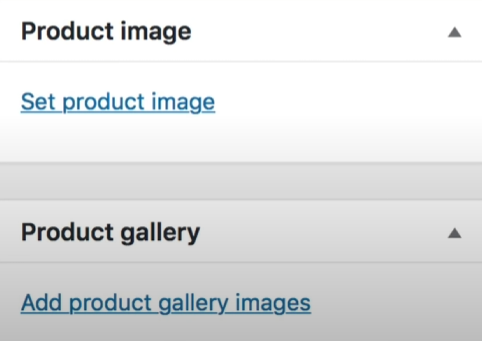
Similar to adding featured images to WordPress posts, you can add an image to be the first one displayed when users view your product’s page. This will also be the picture used should your current product appear as Up-sells and Cross-sells of other products.
If you have any, you can add additional images to showcase your product. On your product’s page, these will appear under the featured image for viewers to see.
Publish Your Product
Once all details are filled out, click “Publish” to make your product live on your store.
Managing Inventory in WooCommerce
Source: WooCommerce Inventory Management – YouTube
Once you have created products for your store, sometimes you’ll want to make a few updates to them, whether it is to update the title, description, image, or more.
Inventory Settings
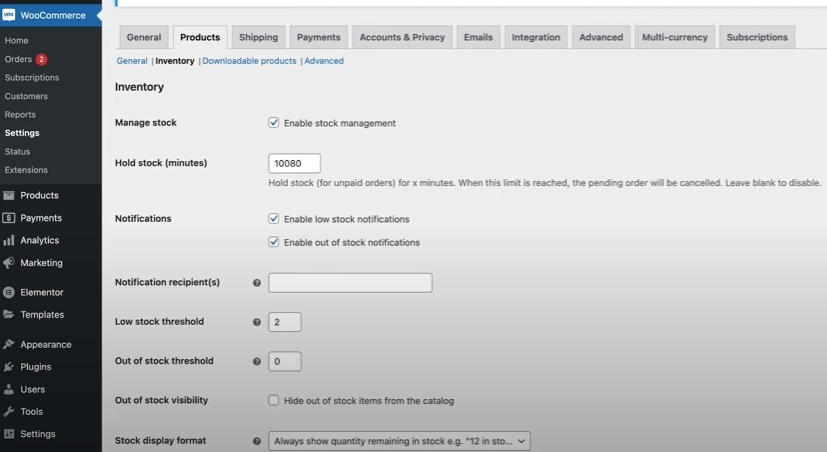
Previously, if you did not opt to manage the stock for products, you’ll need to change that in order for you to manually update your products’ stock.
To do this, go to “Inventory” by using the dashboard on your left, go to “WooCommerce” then “Settings” and then pick “Products” and subsequently “Inventory”.
Ensure that the box for enabling stock management is ticked if you want to manage it on your own.
Additionally, manage the out-of-stock notifications and visibility as you see fit by ticking the relevant boxes.
Updating Simple Products
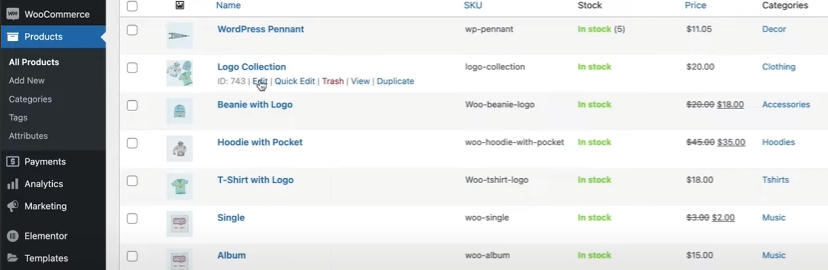
Source: WooCommerce Inventory Management by Wicky Design on YouTube
To access the product list, go to “Products” hover over the product you want to manage and click “Edit”.

You will then be greeted by this familiar display that is nearly identical to the one you interacted with when creating the product.
Here, you can update any piece of information that you have previously filled out when creating the product as you desire, from product title, description, categories, images and more.
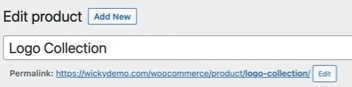
Additionally, take note of the permalink of your product’s page, which you can find below the title of your product when editing it.
This is the link that visitors will put in their browser to visit this particular product’s page and you can change this should you see a need to.
Once you are done, don’t forget to click “Update” to ensure that the changes you have made to your product will carry over to the live store.
Editing Variations of Variable Products
Previously, we have been dealing with simple products. However, if you have one product that you decide will have variations, changing its product type to Variable Products might be useful.
While the default implementation of product variation selections on the front end by WooCommerce can do its job, we highly recommend using the WordPress plugin, WCBoost – Variation Swatches
You can learn more about this plugin here and if you need help with the installation, you can read our guide on installing WordPress plugins here.
At the time of writing, this is the only free plugin we have found that, while being free to use, proves to be extremely useful in beautifying your variable product selection.
By default, the different variations will be displayed on your page as a drop-down box. However, with this plugin, you can choose to use the more visually appealing “swatches”, which we will explore later in this guide.
How to Add Variation Swatches, Product Compare, and Wishlist | FREE Add-On Features on WooCommerce
Follow the initial steps to editing the product as before and after clicking “Edit” on the product of your choice.
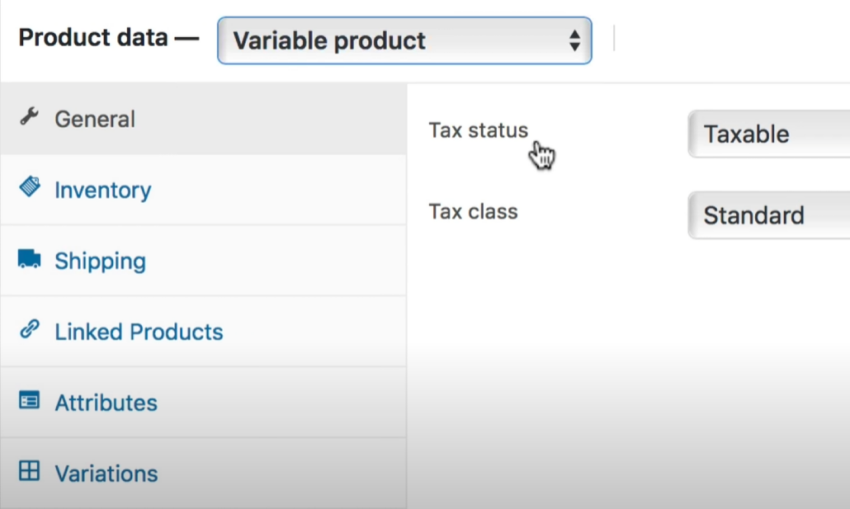
If you need to, scroll down until you reach the drop-down option next to “Product Data” and change it from “Simple product” to “Variable product”.
If previously you did not add attributes to the product, this time, you will need to do so.
Depending on your variation, go ahead to “Attributes” and add the relevant attributes to your product such as size, colour, and so on.
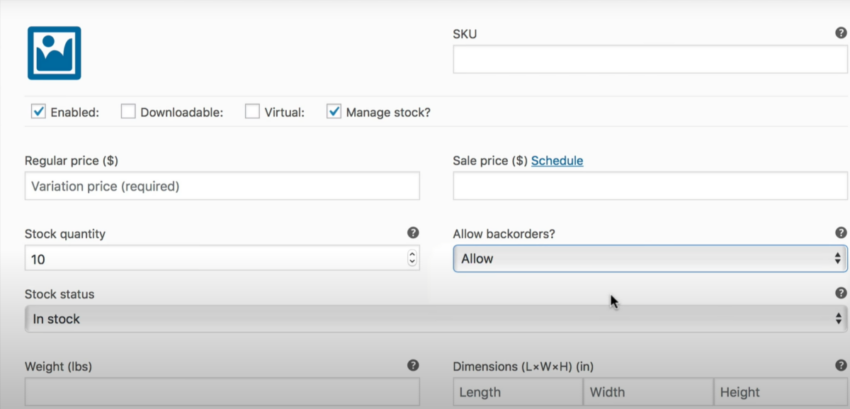
By doing this, you will now be able to add variations to your product and manage each variation, making their SKU, price, and so on different from other variations.
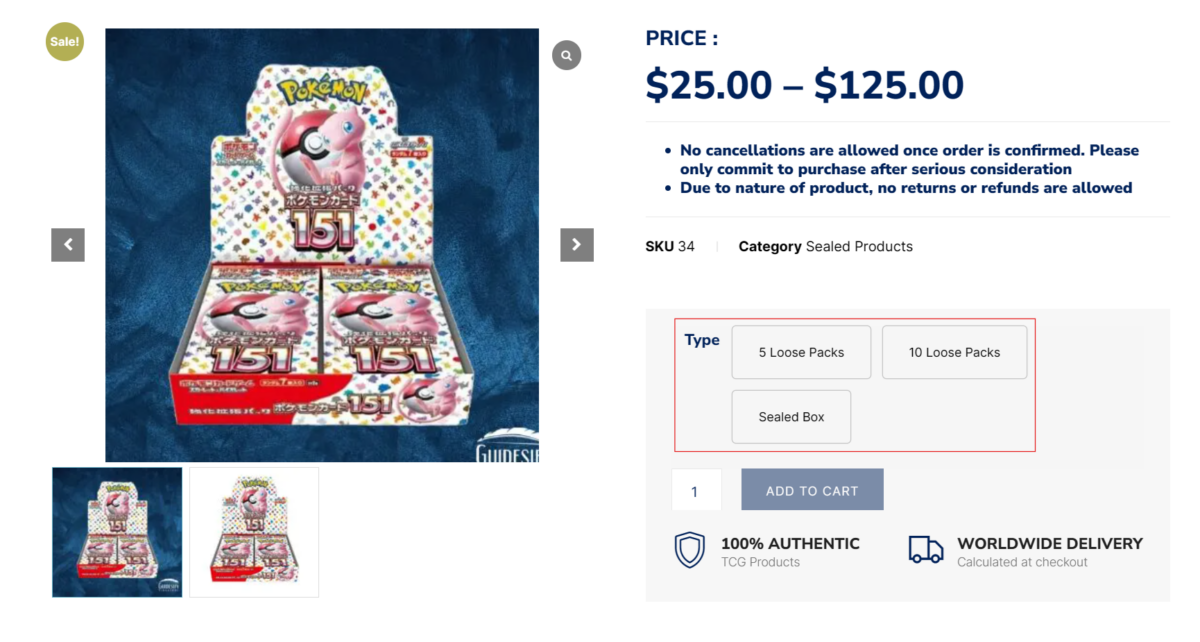
Source: Pokemon Card 151 Booster Box sv2a Sealed with Shrink Japanese (Dented) – Guidesify Store
With the aforementioned Variation Swatches plugin installed, we can make the selection of variations more appealing by using these “swatches” instead of the default drop-down box.
To achieve this, first, ensure that your WCBoost – Variation Swatches plugin has been correctly installed, then go back to editing the product.
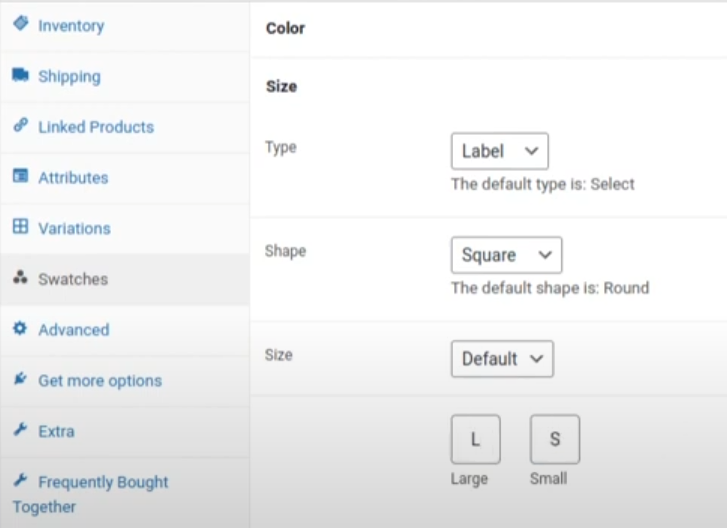
Go to the Swatches tab which will now appear below “Variations” and customise the appearance of the swatch accordingly.
If you have picked “Label” as your choice of type, you can simply click on each swatch box to change the label of each swatch.
Remember, these are all based on your previous settings in “Variations” which are also based on the settings in “Attributes” so be sure to configure all of those settings carefully.
Now that you have learnt how to create both simple and variable products as well as edit them, continue to familiarise yourself with the different settings or explore more plugins for managing your product.
Feel free to stick around for more guides on WordPress, WooCommerce, and more!
Related To:
Elementor Guide: How To Add Pop-ups To Your WordPress Website