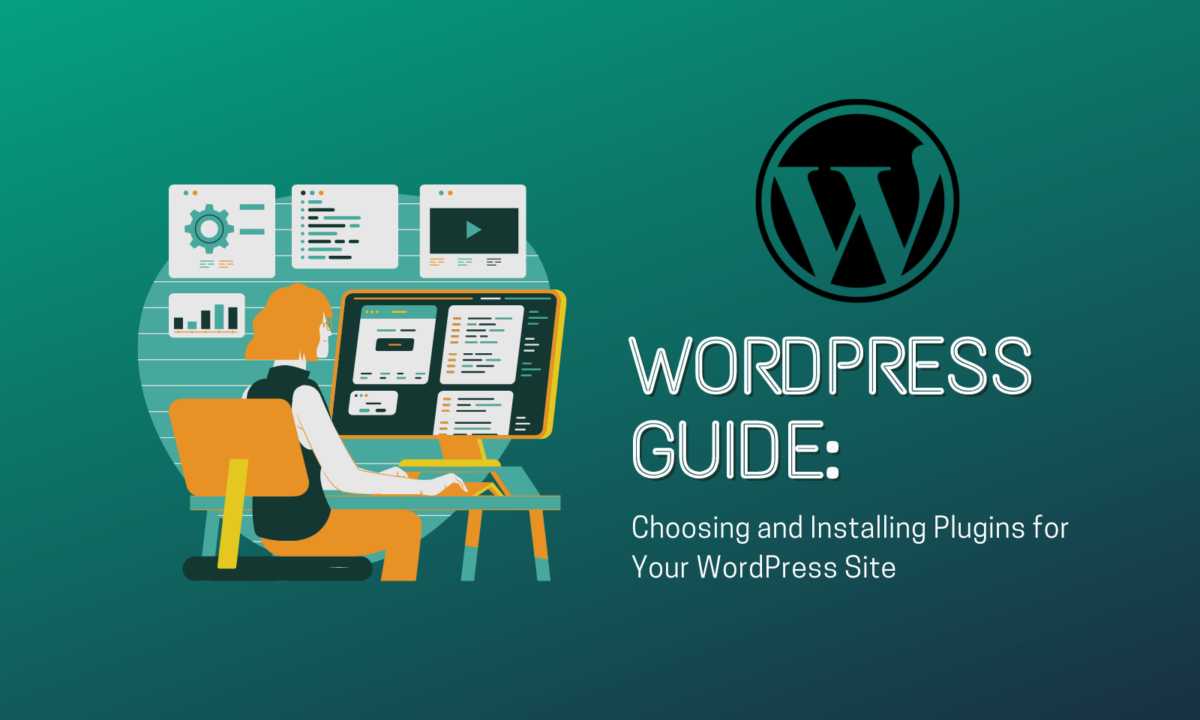

Social media integration, analytics, security enhancements, marketing tools, and much more are some of the things that WordPress plugins can help you with.
In this tutorial, let’s go through the process of selecting, installing, and managing plugins on your WordPress website.
What are WordPress Plugins and What are They For?
WordPress offers many different plugins designed for various needs.
Whether you want to add a map, launch an e-commerce site, or even optimize your website’s performance, there will be a plugin to help you with that.
These plugins will help you enrich your website and also make it more dynamic and user-friendly.
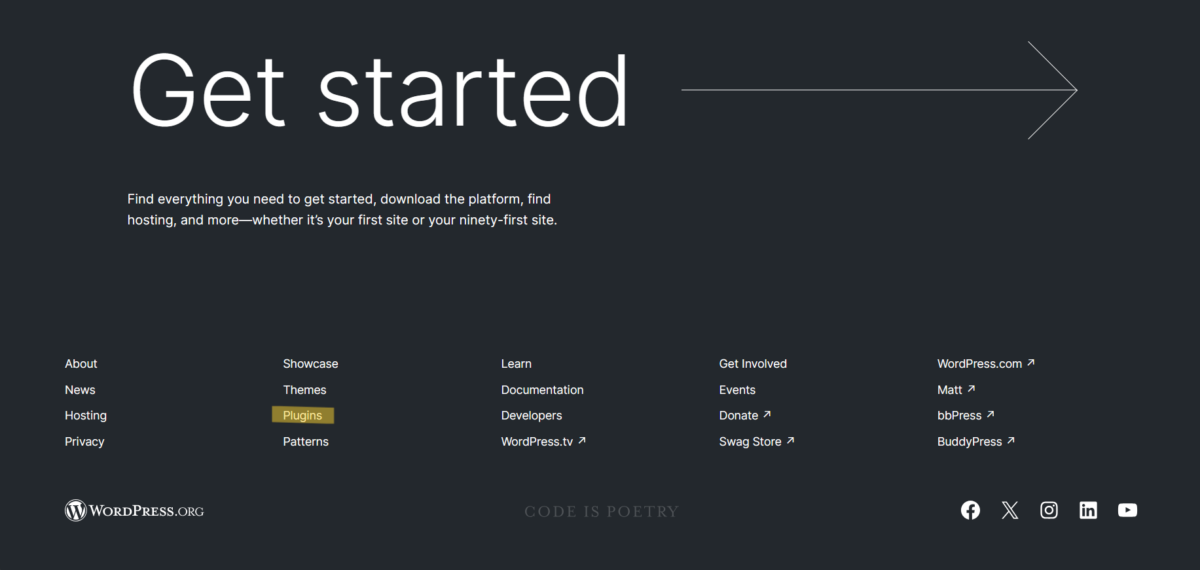
To start off, go to WordPress.org and navigate to the Plugins Directory.

Here, you can browse through thousands of free plugins though there are premium plugins that you can access for a fee as well, which may be useful for your more advanced needs.
Adding Plugins on WordPress
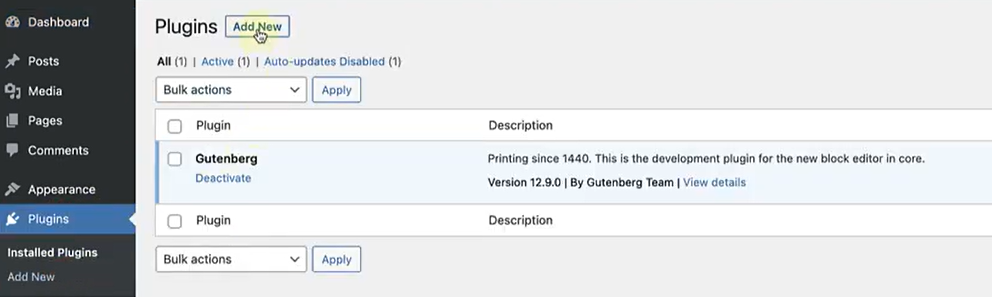
To add a plugin, navigate to the WordPress Dashboard:
- Login to your WordPress and go to your site.
Source: Choosing and installing a plugin – YouTube
- Go to Plugins, then select, “Add New.”
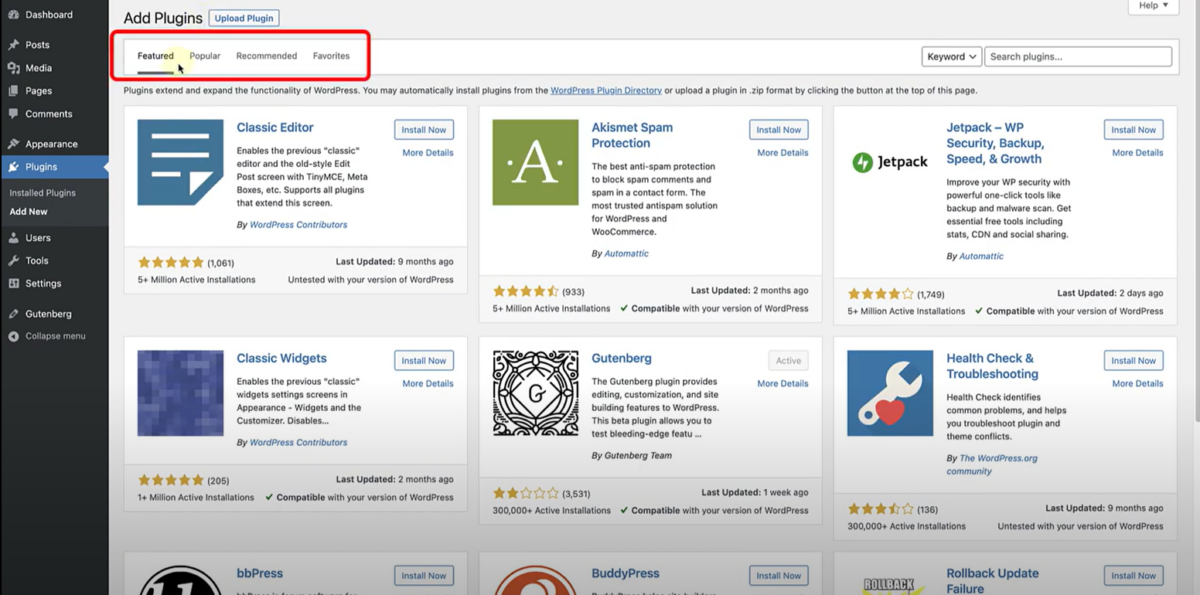
- Here, you can see featured, popular, recommended, and favourite plugins or you can select the top plugins for each category.
Evaluating and Choosing the Right Plugin
When deciding which plugin to use, consider looking at the following:

- Star Ratings: This reflects user feedback and satisfaction.
- Last Updated: It is best to choose plugins that are actively maintained and updated.
- Active Installations: This Indicates popularity and reliability.
- Compatibility: Ensure that the plugin you intend to use is compatible with the latest WordPress version.
You can access all these when you select a plugin after browsing or searching for it.
Installing and Activating a Plugin
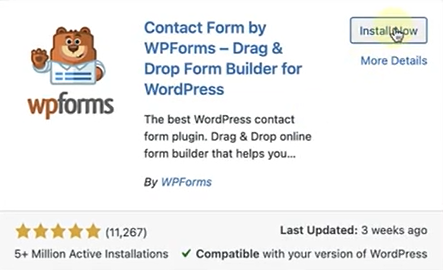
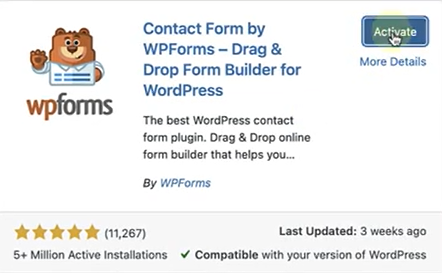
Once you’ve decided to add a certain plugin, here’s how to install them:
- Search for the Plugin: Use the search bar to find your desired plugin (e.g., WPForms)
.
- Install and Activate: Click “Install Now” followed by “Activate” to enable the plugin.
- Set Up the Plugin: Follow the setup instructions provided by the plugin.
- Add the Plugin to Your Website: Utilize WordPress blocks to integrate the form on your site.
- You can also upload plugins manually using a zip archive from your local computer.
Deactivating and Deleting a Plugin
If you no longer need a plugin, it is good to deactivate and/or remove it to prevent conflicts with future plugins that you may add.
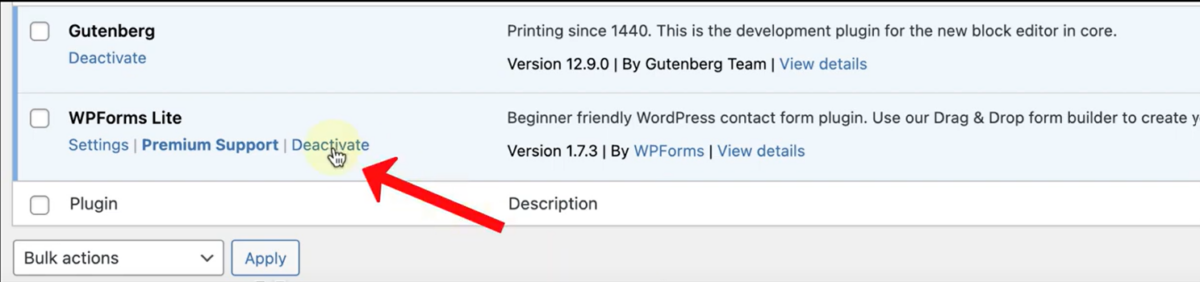
- Deactivate: Navigate to Plugins > Installed Plugins, locate the plugin, and click “Deactivate.”
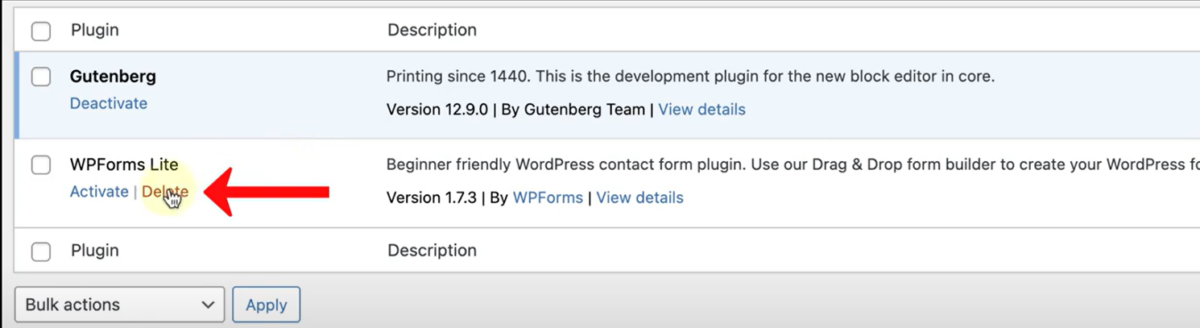
- Delete: After deactivation, click “Delete” to remove the plugin permanently.
Resolving Plugin Conflicts
If you encounter issues due to plugin conflicts, there are generally 2 ways to try to fix them:
- Manual Testing: When you have many plugins, it is a possibility that only one of them is the one causing the issue.
Try to deactivate your plugins one by one to identify the problematic ones, then you may either re-install it or find a different plugin that doesn’t cause the problem to re-occur.
- Use Troubleshooting Tools: Plugins such as Health Check and Troubleshooting to diagnose and resolve conflicts efficiently. However, they do not always work and you may still need to fall back to manual testing.
Overall, if you’re looking to improve your WordPress website by adding in more features without having to go through the trouble of coding extensively, plugins are something you should really look into.
However, remember not to add too many plugins and add only those that are necessary to avoid issues caused by conflicting plugins.
Related to:
Checking my Windows 10/11 PC’s Login History
How to Enable Comments on Your Public / Private Telegram Channel (And Get the Party Started!)