
In WordPress, users tend to use templates to assist them in designing their websites.
Sometimes, the provided template may be enough, but if you’d like to have some variety between different pages, creating custom templates might be the option for you.
YouTube Video on Creating A Custom Template by WordPress
Today, we’ll learn how to create a custom template in WordPress to implement unique designs and layouts for specific pages on your website according to your desire.
Understanding Custom Templates
A custom template in WordPress enables you to deviate from the standard design of your website. This means that each of the pages on your website can have distinct headers, footers, and other elements, providing a tailored experience for your visitors.
Creating a Custom Template
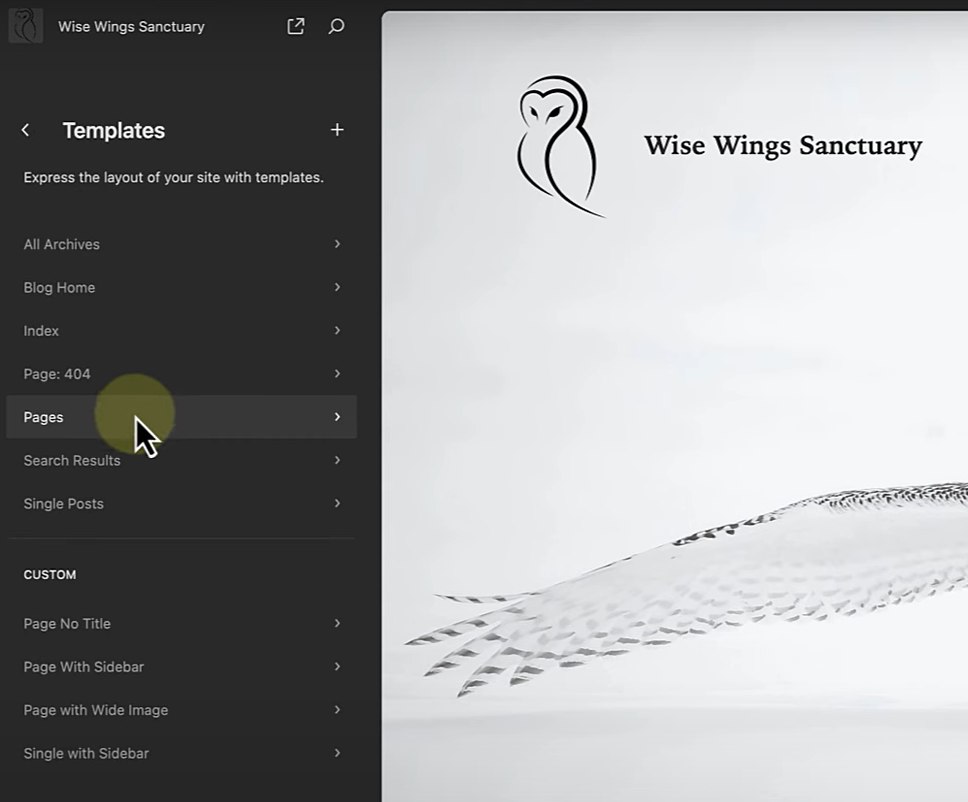
Step 1: Navigate to Templates
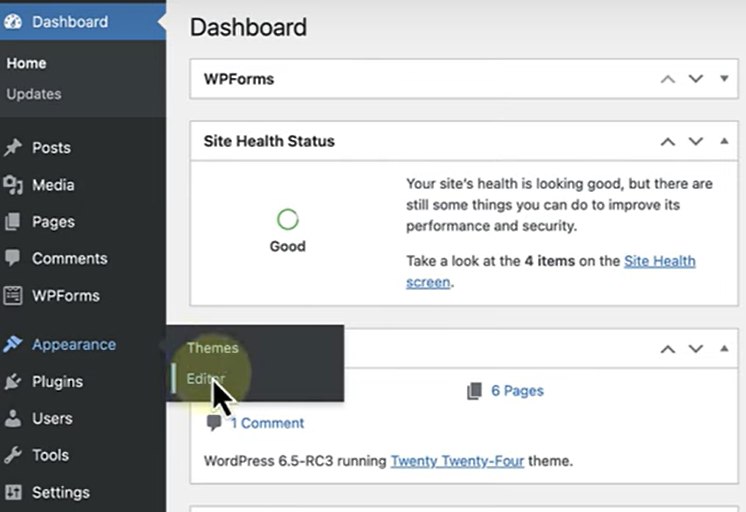
To access the templates tab, navigate to Appearance > Editor > Templates.
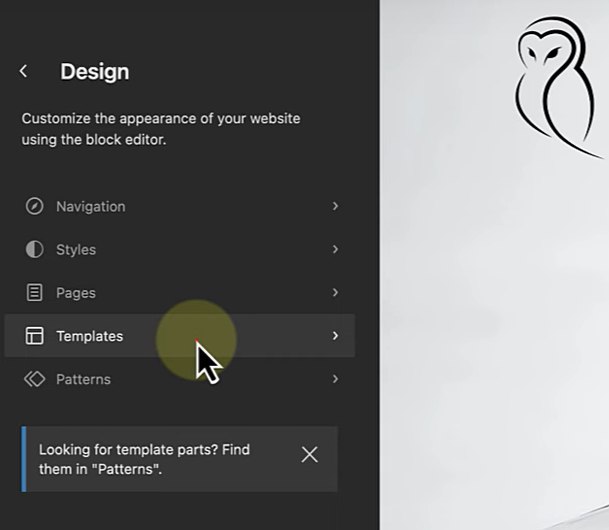
Start by accessing the WordPress dashboard. Go to “Appearance” and click on “Editor.” Then, select “Templates” from the options.
Step 2: Opening the Page Template:
Begin by opening one of your existing page’s template. Templates like this typically include a predefined header and footer that applies to all pages assigned to it.
Step 3: Creating a New Custom Template:
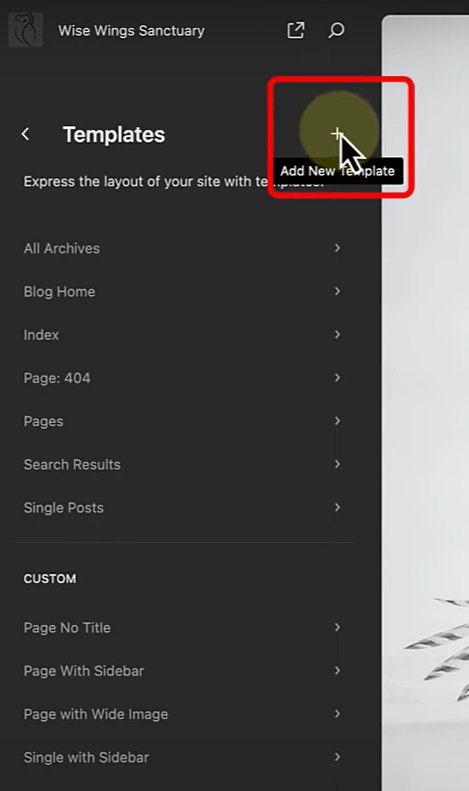
Click on “Add New Template” within the Templates section.
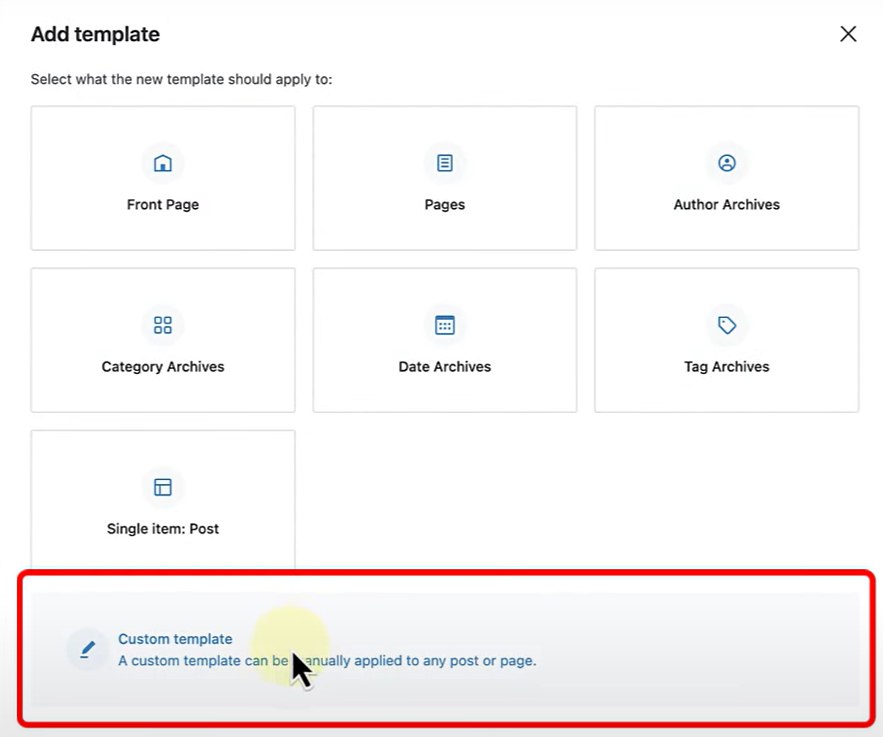
Choose “Custom Template”, then you will be prompted to name your new template so be sure to use a descriptive name that suits your template.
Afterwards, click on “Create” to proceed.
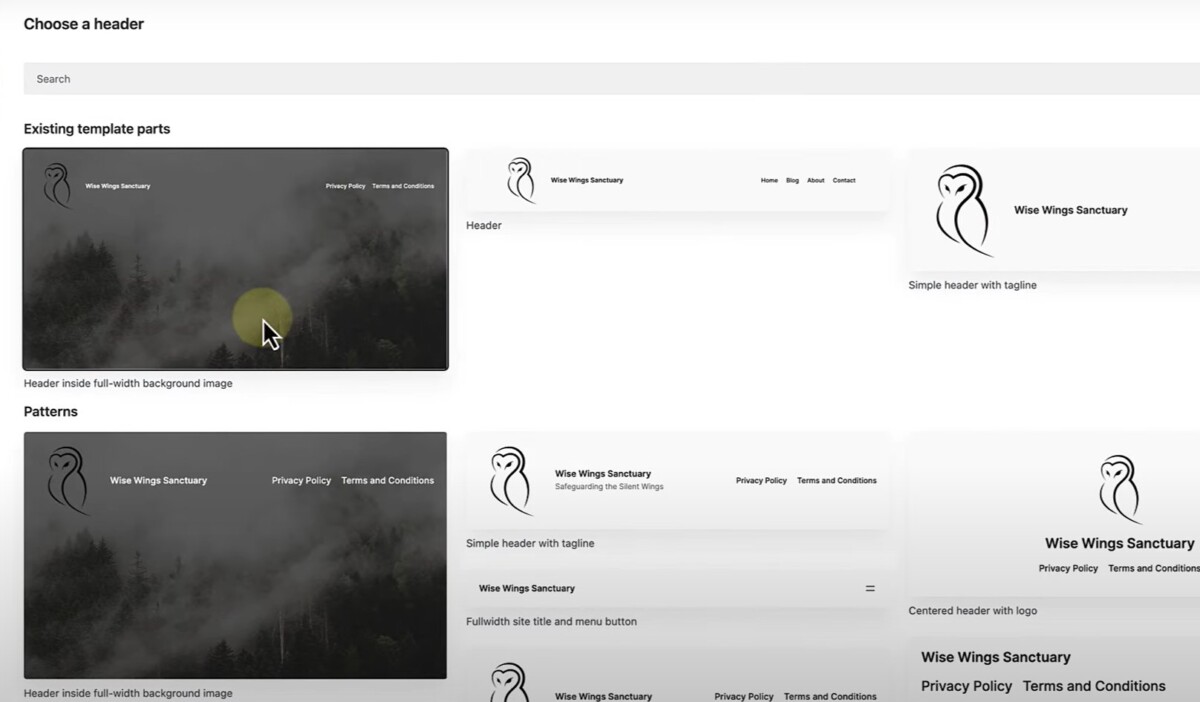
Step 4: Selecting a Template Pattern:
Depending on your selected theme, such as the “twenty twenty-four” theme, you may optionally select a template pattern or begin with a blank template.
Choose the desired pattern or start as blank if the offered patterns do not suit your needs.
Step 5: Customising the Template:
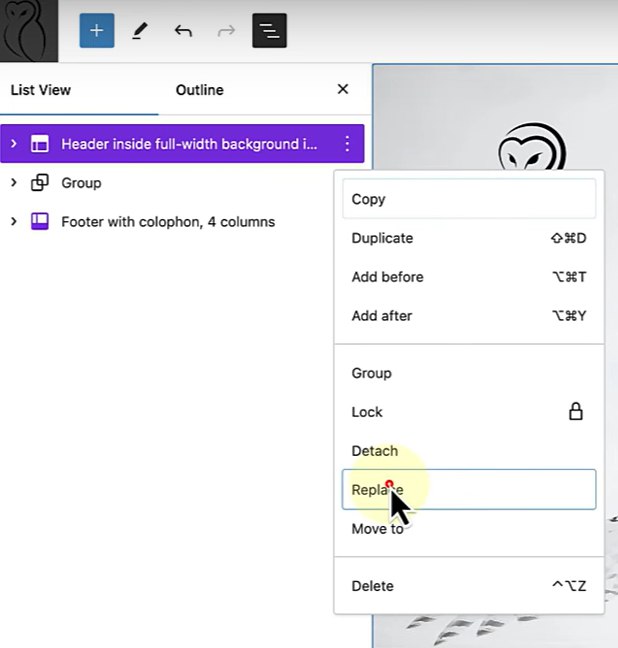
There are many customisable elements, including the header, footer, and post-content block.
You can customise the template by modifying each element. For example, in the header, you can change the positioning of your brand’s logo or the text on it.
Step 6: Saving the Custom Template:
Once your changes are complete, don’t forget to save your custom template so you don’t lose your progress.
Assigning the Custom Template
If your selected page currently has an existing template but you are not satisfied with it, you can create a custom template and assign this custom template to said page in place of its existing template.
Step 1: Applying the Template to a Specific Page:
Return to the WordPress dashboard and navigate back to the “Pages” tab.
Locate the page you wish to apply the custom template to, such as the “Contact Us” page, then click on it.
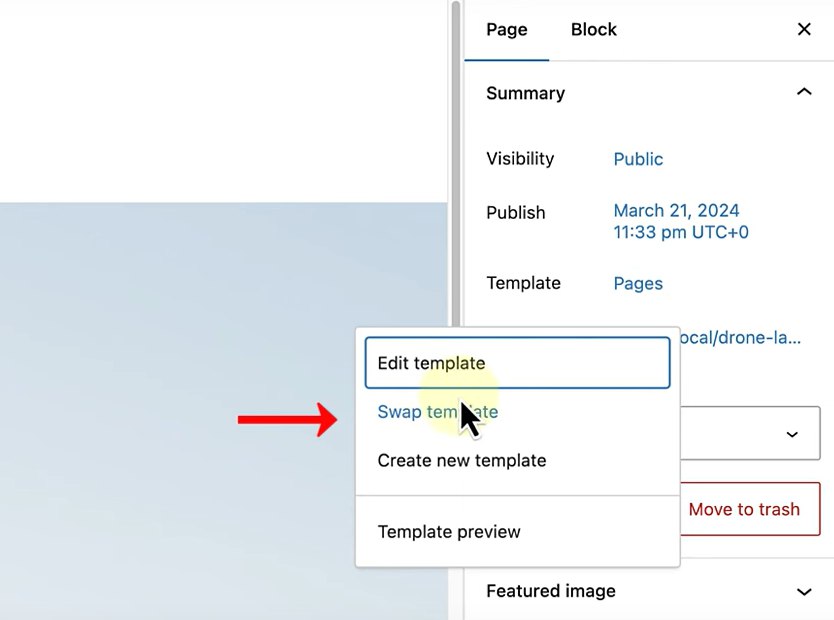
Step 2: Assigning the Custom Template:
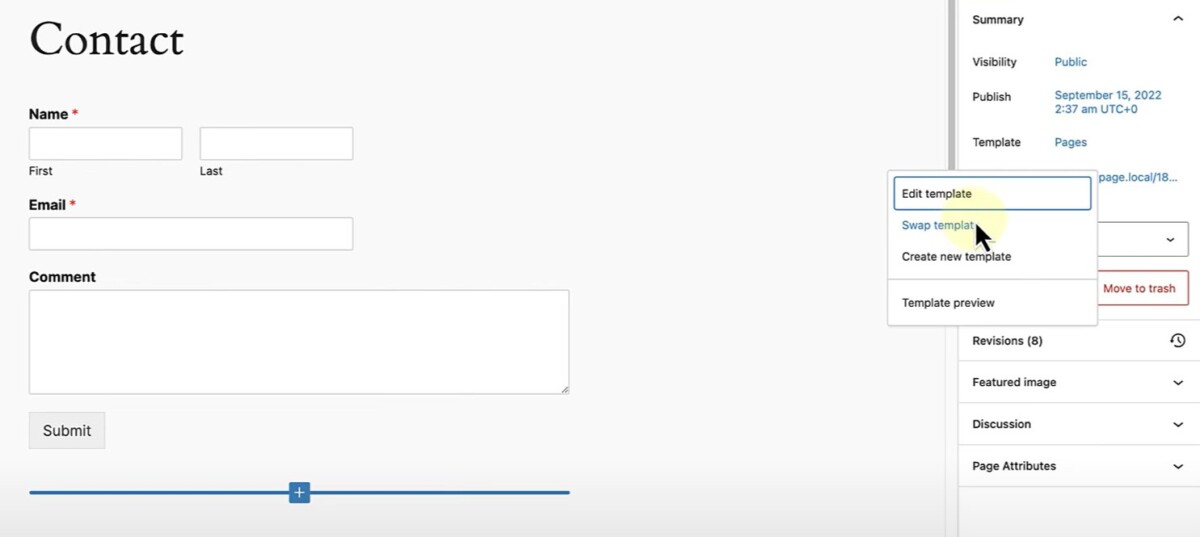
Once you’re in the page editor, click on whatever is next to “Template” and then click on “Swap Template.”
Choose the custom template you have created for the current page from the available options.
Updating and Previewing:
Once done, click “Update” to apply the custom template to the selected page.
Once done, preview the page to see the changes reflected on the front end of your website to see if it’s what you’d like your visitors to see upon landing on the page.
Creating a Custom Landing Page
The Landing page is the page where most of your visitors arrive upon visiting your website. Since it’s the first thing users see, you might want to make it look more special.
To do this, you can create a custom landing page to enhance user engagement.
Step 1: Setting Up the Landing Page:

First, navigate to your landing page then go back to the editor site by accessing the WordPress dashboard.
Step 2: Creating a New Custom Template:

Follow the same process to add a new custom template and name it accordingly.
Step 3: Customising the Landing Page Template:
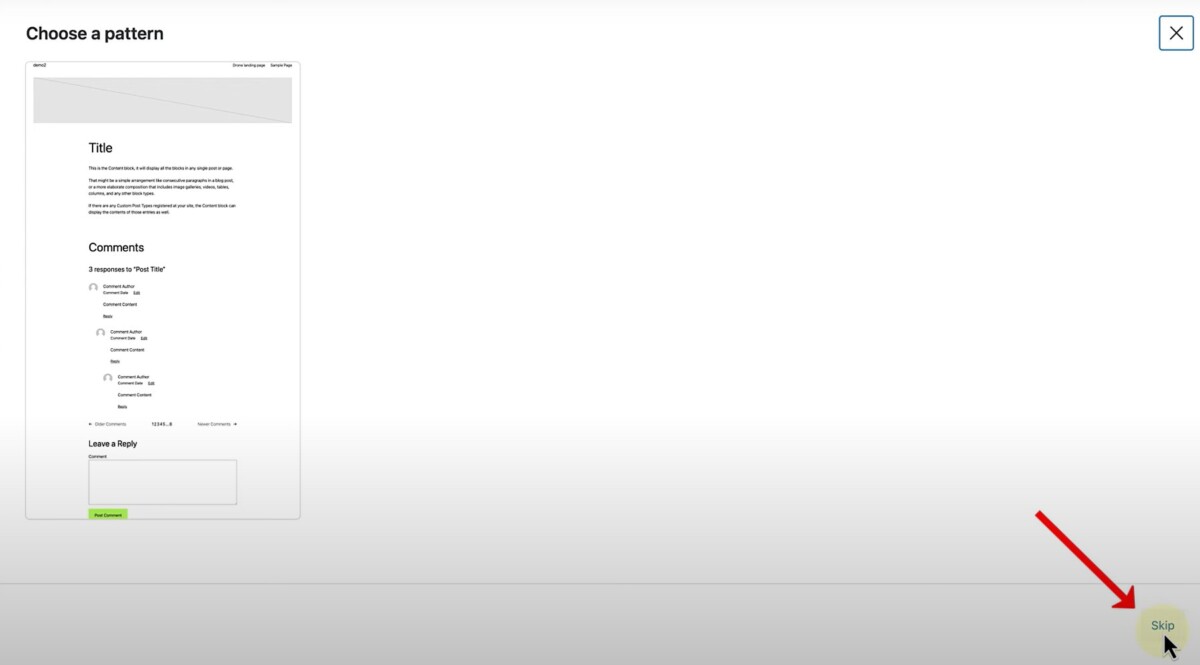
Given that this is the landing page, you might want to provide a more focused user experience, which means that in this case, it might be good to start from a blank template.
You can create your own template from scratch here by clicking on “Skip” when prompted to choose a pattern.
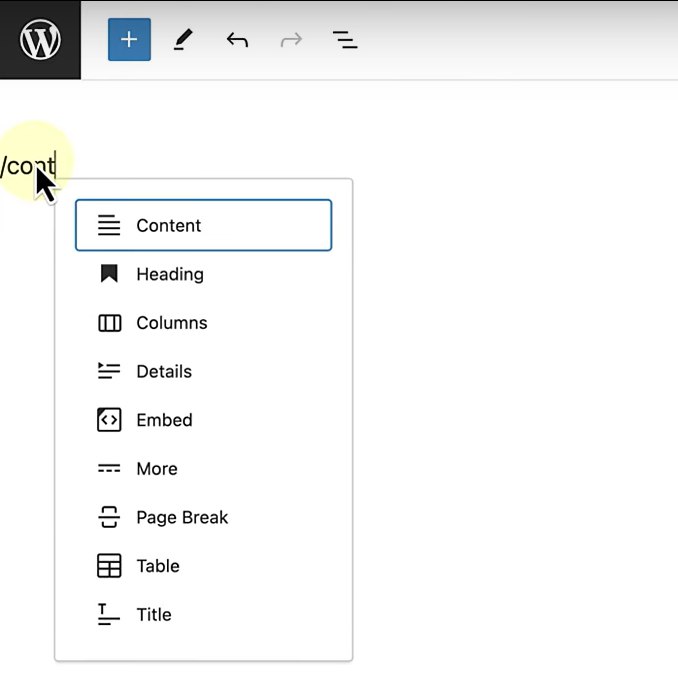
Depending on the content you’d like visitors to focus on, add blocks like the Content Block or any other suitable blocks to display the relevant content as much as you need.
Step 4: Assigning the Custom Template to the Landing Page:
Once you are done creating your custom template for your landing page, remember to click on “Save” to save your new template.
Afterwards, return to the dashboard and open your landing page via “Pages” in the dashboard, then in the editor site, select “Swap Template”.

Since you now have created your own template, you can assign the newly created custom template to the landing page to replace its previously assigned template.
Step 5: Previewing the Landing Page:
Once you have assigned the new template to the landing page, click on the “Update” button then click “Preview” to visualise how the landing page will appear on your website.
If you are satisfied with how your new landing page looks, that’s great, otherwise you can always go back to modify your custom templates and re-update your pages later.
Whether you aim to enhance user engagement or simply want your website to be more visually appealing, custom templates let you achieve that with your creativity.
Feel free to continue trying to make the most suitable templates for each of your pages on your website, or look for templates online to gain inspiration for making your own.
Related to: